REPAIRS: Making a Japanese paper hinge
Purpose: to repair print works with minimal visibility, typically for content preservation.
In the example book, a hinge was needed to re-attach the front cover. Instead of using the usual cloth hinge which would have covered up part of the illustration on the endpapers, a strip of semi-transparent Japanese paper was used to make the hinge.

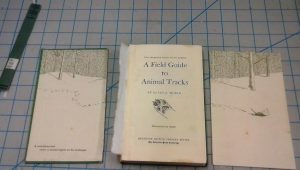
Figure 1 shows all the parts of the book. The page on the right is the free endpaper which had become detached and will need to be tipped in. You can see that the illustration continues across the 2 pages. The strip of Japanese paper (this is a piece made from mulberry bark) is glued to the text block with half of the strip loose.

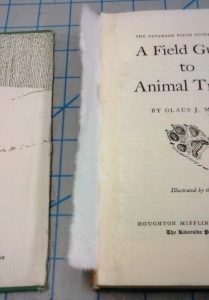
Figure 2 shows this in close-up. While the glue is wet, using a finger to feather out the edge makes it blend into the paper fairly well.

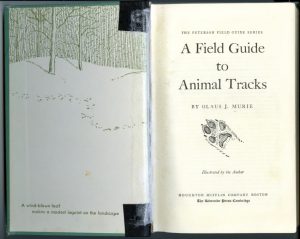
In Figure 3, the free half of the Japanese paper has been glued down to the inside of the front cover. The spine has also been replaced and taped with black spine tape, then the paper hinge was glued on top. Waxed paper was put into the crease and the book put into the press to dry.

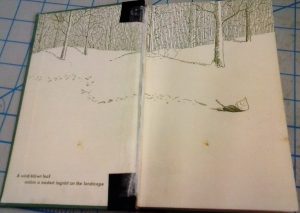
In Figure 4, the detached free endpaper has been tipped onto the text block, waxed paper inserted on both sides of the page, and pressed again to dry. The hinge repair is now finished. The repair is visible, but the illustration is mostly intact.
