12-10 Processing Invoices
Purpose: To generate a check/electronic payment for an invoice. This process begins in Sierra and results in payment being issued by Mainestreet.
- In Sierra, choose Pay an Invoice under the Acquisitions section in the drop-down menu
- Select a payfile that is not in use by highlighting it and clicking Select at the bottom of the screen. (Orono typically uses file #1-2, Augusta & Bangor use #3-4).
- Enter the invoice number in the invoice field, followed by either:
- (a slash) / . For payments that can go out 30 days after invoice date. As a default, Mainestreet sends out payments 30 days after the invoice date unless otherwise instructed (see below). Example: 1234/
- (a slash) /GCY. For payments that need to go out immediately. This overrides the 30-day Mainestreet default. Example 1234/GCY Note: NERL invoices are always entered as /GCY
- Enter the invoice date.
- Enter the first order record number.
- When the order record appears, make sure that:
- a working vendor code is in the vendor field. If the vendor code is not properly linked to Mainestreet, a payment with not be generated.
- a valid fund code is entered into the fund field. This ensures that the invoice will be paid from the correct account when it is sent to Mainestreet for payment.
- In the Amount field, enter the price listed on the invoice.
- In the Notes field, enter a short physical description of the item
- Return and continue this process until all order records on the invoice have been entered.
- Click Finish button at the top of the screen.
- Enter shipping charge, if applicable. Next
- Do NOT enter anything in the service charge box (if service charges or discounts need to be added, divide up the charge and add to each order record price. As of 4/2020, this field does not work correctly). Click Next.
- Enter the invoice total.
- Click Finish.
- The computed total and the total that you entered should match. If not, the computed total will show in red. Review the amounts that you entered in each line to find the discrepancy and fix until both totals match. Repeat Steps 11-17 after making corrections.
- Click Finish button at the top of the screen again.
- Click Yes in the box asking you if you’re sure.
- Invoice complete. You will be brought back to the payfile screen.
- Make a copy of the invoice. Keep one for our files.
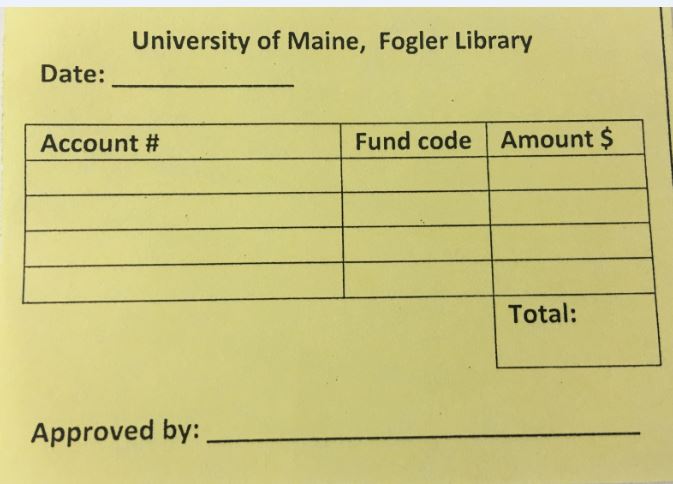
- Attach a yellow account slip to the other invoice.
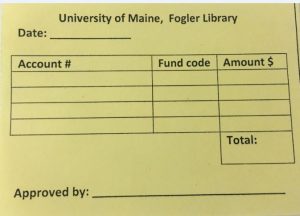
- Fill in:
- the account number(s) that will be charged for this invoice.
- the amount each account will be charged.
- the final invoice total.
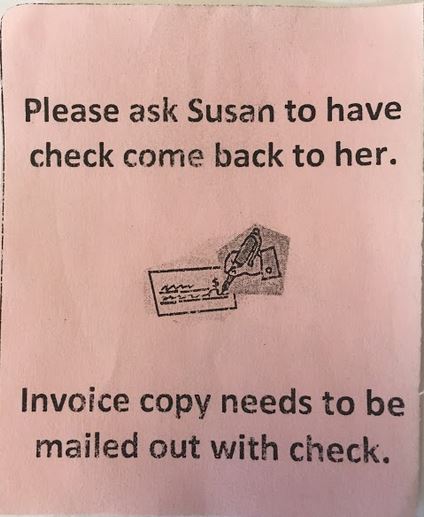
- Optional: Attach a pink slip (below), if this invoice will be paid by paper check and you need one of the following to occur:
- You need a copy of the invoice to be mailed out with the check (attach an invoice copy to the one with the yellow slip).
- You need the check to be mailed in an envelope with the correct remit address on it because the remit address in Mainestreet no longer matches (attach the envelope to the invoice with the yellow slip).
26. Give all invoices with yellow slips that you process to the staff member who will be doing the next weekly interface.