Cataloging: Processing
Purpose: Cataloged books require physical processing before they enter the stacks.
- Newly cataloged books are placed on carts in designated areas of Technical Services to be picked up by student workers.
- Book plates, flags and any additional paperwork necessary to help with delivery are left in the book.
- Advertisements, order slips, “no order” slips and OCLC searching slips are removed from the book and reused/recycled.
Exceptions:- Approval plan slips stay in the book;
- Canadian order slips are removed and kept in the box set aside for this purpose);
- Errata slips from the publisher are tipped in (give to LA in charge of binding and repairs).
- The books will have Call Number Labels adhered, Security Strips inserted, and Book Plates attached before they are delivered to the appropriate section of the library. See physical processing Instructions below for various material types.
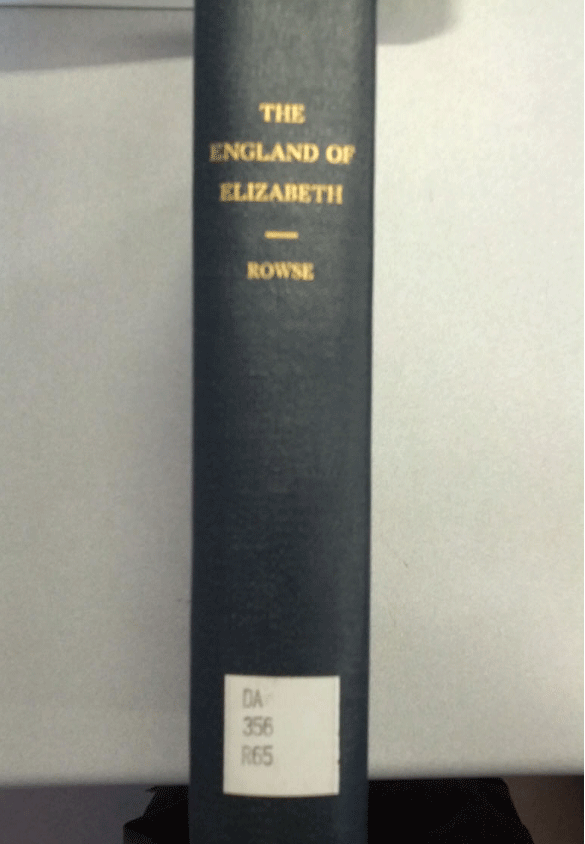
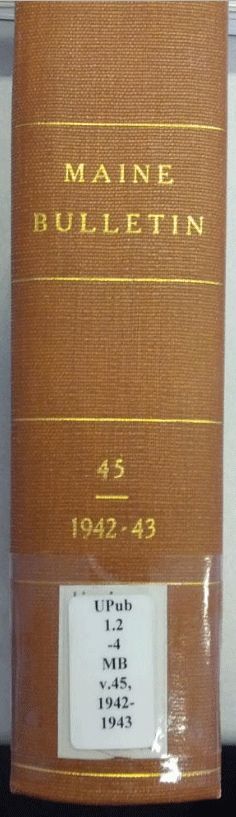
Call Number Labels
- All call number labels will be applied by the cataloger before being moved to the processing area.
- Place the label on the spine of the book 1/4 inch from the bottom. The label can be cut along the right side and the bottom if necessary to make the fit.
a) If the book is too narrow for placing the label on the spine (there must be no “wrapping” of label text) it is to be placed on the upper left-hand corner of the from cover 1/4 to 1/2 inch from the spine and top edge of the cover. Again the label may be cut to avoid covering any important information on the cover.

- If the label is not sticking to the book properly cover it with enough clear tape to allow 3/4 to 1 inch beyond the spine crease in the front and back. Note: all hardcover cloth books or any non-shiny book spine will need Scotch book-tape applied over the label. Please make sure that the tape is firmly pressed into the crease before sticking the tape to the front and back of the book covers.
- All books except for books from Baker & Taylor leased books have the call number labels placed on in the same manner (these exceptions arrive in processing with call number labels already attached). Double check the call numbers to make sure they match the OCLC record, if they do not print a new label.
Special Labeling Instructions
- CD-ROMs: The label is affixed to the front of the jewel case/box. Be sure not to cover important information. An additional, circular label is applied to the disc itself.
- Compact Discs (audio): No label needed. Staff at the Media Resources Center will print out and affix labels (both regular and circular) on container and disc.
- Computer Disks: Both 3.5 and 5.25 computer discs have labels placed on the front, not covering lettering or the barcode. Cut label to fit if necessary. Both masters and copies are labeled (masters are kept in Tech Services).
- DVDs: The label is affixed to the upper left-hand corner of the front side of the jewel case/box. Be sure not to cover important information. An additional circular label is applied to the disc itself. If the item comes with a gift plate, send the plate with the item to the Media Resources Center (they will affix the plate).
- Maps: If not packaged in an envelope, place the label as close to the barcode as possible. Do not cover any important information. Cut the label to fit if necessary.
- Microfilm: Try to fit the call number label on the same side as the title label. Alternately, place the call number label on the right side of the box.
- Videocassettes: Each videocassette should come with two labels. One goes on the side of the box 1/4″ from the bottom, the other goes on the videocassette itself. Cut the label if necessary to fit. No plating necessary. If the item comes with a gift plate, send the plate with the item to the Media Resources Center (they will affix the plate).
Security Strips (Tattle taping)
There are two types of security strips. The first type is short and has adhesive on one side only. These are used on most hardcover books. The second type is long and has adhesive on both sides. These are used for paperback books, as well as hardcovers that do not lend themselves to the short version.
Hardcover Books: Short, One-Sided Strip
- Peel the white paper cover from one strip and adhere approximately 1/8 to 1/4 of the strip lightly to one of the flat metal rods.
- Run the metal rod down the spine of the book between the binding and the book pages.
- When the strip is completely inside the book put pressure on the security strip and pull on the metal rod.
- The strip should remain in the spine.
- Rub the spine of the book to make sure the strip is secure.
Paperback Books and Magazines: Long, Double-Sided Strip
- Open the book to a page that has a wide margin.
- Pull the tattle strip cover off the strip.
- Place the strip along the side of a page as close as possible to the inside bound edge (in order to make the strip as inconspicuous as possible).
- Close the book and press to adhere the strip.
- Open the books and pull off the remaining tattle strip cover.
- Close the book again and press to adhere the strip.
- You should not be able to find the tattle strip in the book once it is installed.
Exceptions
- All books for Orono are security stripped except for PromptCat books, which are stripped before they are shipped to the library.
- All in-house bound items (except photocopied theses) are stripped in the bindery.
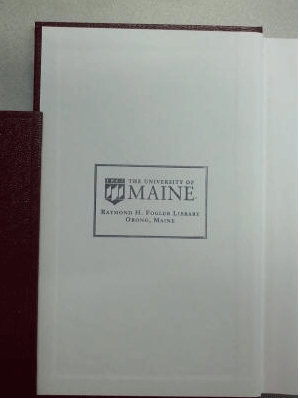
Bookplating
Bookplate stamps or bookplates are used for two purposes:
- to indicate that an item is owned by the University of Maine, and is housed in Fogler Library.
- to recognize donors of funds and materials, if applicable to an item
General instructions:
- Stamp or place self-stick label in the middle of the inside cover of the book. If you are unable to use the inside cover you may stamp the middle of the first page facing the cover. Exceptions:
- If there is not enough contrast between the black ink and the endpaper color (eg. dark brown) then stamp a stick on plate and apply.
- If placing a stamp or print bookplate will obscure information conveyed on the endpapers, maps are a common example, then tip in the print bookplate using the roller tape
- Bookplates must be placed so that they do not cover any important information (e.g. endpapers on the inside covers that illustrate the text, contain tables, etc.). Options in preferred order:
- Stamp endpaper on inside cover
- If not enough contrast to read properly, stamp self-adhesive plate and apply to endpaper
- If placing stamp will cover content, a traditional print plate should be “tipped in” to the bound edge of the item using a roller tape tool.
Bookplate rubber stamps:
There are four bookplate rubber stamps.
1. Fogler Library bookplate stamp. Most items get this stamp unless otherwise specified.
2. Fogler Library – Thomas Buck gift bookplate stamp. Items are indicated by an ORANGE bookplate flag plus an old printed Buck bookplate. (Save old bookplate for re-use by Acquisitions.)
3. Fogler Library – Taylor bequest bookplate stamp. Items are indicated by an ORANGE bookplate flag plus an old printed Taylor bookplate, plus a BLUE Special Collections flag. (Save old bookplate for re-use by Acquisitions.)
Bookplate self-stick labels:
Bookplate labels will be laser printed onto self-stick sheets in Acquisitions, as needed.
A supply of self-stick labels for commonly used restricted/gift funds, and for donors of large collections who require a printed bookplate, will be available in Cataloging. Books needing a self-stick label are indicated by an ORANGE flag and either an old printed bookplate with the fund name, or a “no order” card with the donor name.
Self-stick bookplate labels noting individual donors will be applied in Acquisitions before coming to Cataloging. (Items will still have an ORANGE flag to alert catalogers to enter gift data in the URSUS 561 note field.)
Exceptions
- Baker & Taylor books are not plated. These are leased books which must be returned unaltered
- PromptCat books arrive from the vendor already plated
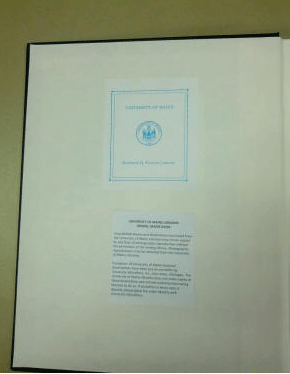
- Hardcover theses receive two bookplates. The University of Maine plate is affixed to the inside front cover and a copyright policy statement is affixed below
Special Processing Instructions
Rare Books
It is very important not to adhere labels of any kind to Rare Books.
NOTHING is affixed to the book itself. The spine label and barcode are put on a special, acid-free bookmark and inserted, between pages, into the top of the book. A regular Special Collections bookplate is also inserted into the top of the book (unless a special plate–Vickery, Taylor, etc.–is specified).
More information on cataloging Rare Books.
Maps or Charts Accompanying Books (Packaged in Envelopes or Pockets)
- Adhere separate call number label to front of envelope (no label necessary if pocket).
- Affix bookplate to back of envelope (do not bookplate if pocket).
- Do not add security strip.
- Adhere one barcode for each item to front of envelope or pocket. Write “Map 1,” etc. or “Chart 1,” etc. next to each barcode.
- Adhere “__ barcodes in pocket” label to back of envelope/item near the main barcode.
- Stamp each map or chart with Fogler property stamp.
- Label each map or chart with call number (by hand). Include 1 of x, 2 of x, etc.
Music Scores
- Each music part has an individual barcode affixed.
- Parts are kept in pocket of folder created in-house.
- Adhere “__ barcodes in pocket” label to back of folder near the main barcode.
Special Collections Pamphlet Files
- Adhere call number label to front of item.
- Adhere title portion of call number label to top front center of file folder.
- Affix bookplate to inside front of file folder (do not plate the item itself).
- No barcode or security strip necessary.
Return to Technical Services TOC